Drag & drop basics
you want to know your way around the editor - adding elements, moving them precisely, and the tools that make it feel like a real design app.
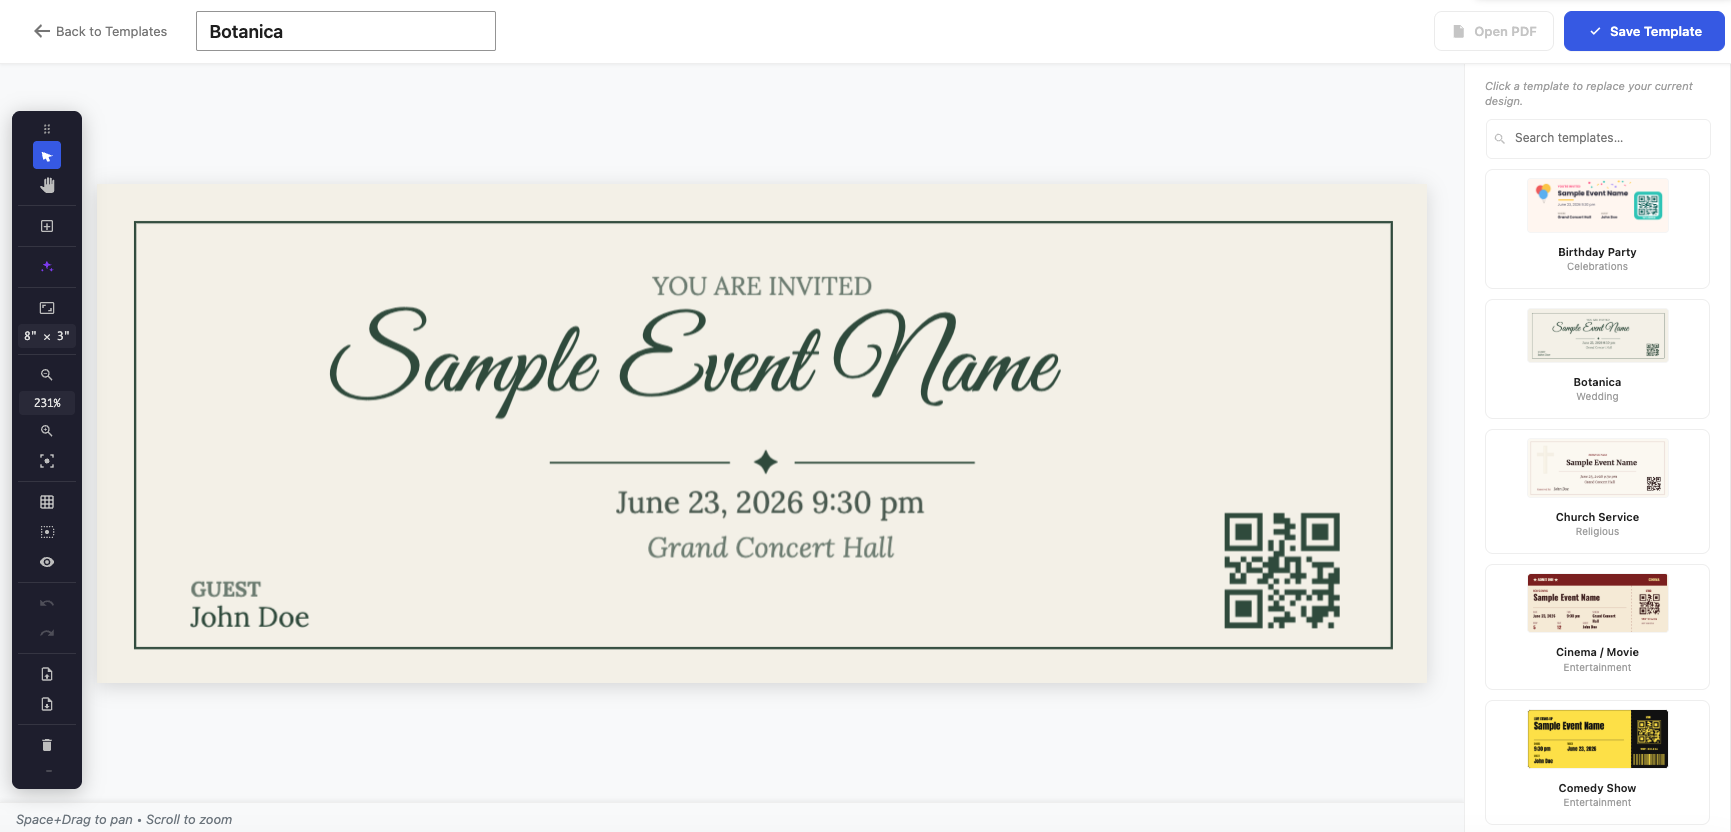
The Ticket Designer is a proper editor, not a form. It has the tools you’d expect from a design app, tuned for tickets.
Add elements
From the toolbar you can drop in: text, dynamic data (event, ticket, seat and attendee fields), custom fields, images, QR codes, barcodes, and shapes & lines. Drag an element onto the canvas, then position it.
Place things precisely
- Grid & snap keeps elements aligned to a grid and to each other.
- Zoom & pan let you work in close on fine detail.
- Align tools distribute and line up selected elements.
- Layers control what sits in front of what.
- A 50-step undo/redo history means you can experiment freely.
- The off-canvas pasteboard is a parking area around the ticket – drag an element off the edge to keep it without printing it, then bring it back later.
Style each element
Every element has its own properties: position and size, rotation and opacity, corner radius, stroke, text alignment, and a conditional hide so an element only appears when its bound data has a value (handy for an optional seat or table number).
What you see is what prints
The canvas maps 1:1 to PDF points – rotation and opacity included – so the printed (or downloaded) ticket matches the screen down to the pixel. There’s no surprise reflow between design and output.
Next step
Add the scannable part: QR codes & barcodes.