Install Venuera & requirements
you want Venuera running on your WordPress site - the requirements, the install, and the one dependency it needs (WooCommerce).
Venuera is a self-hosted event-ticketing plugin for WordPress. It turns WooCommerce into a full ticketing engine: events, ticket types, attendee data, PDF tickets, QR codes and check-in – with no per-ticket commission. This article gets the core installed and active.
Requirements
Before you install, make sure your site meets the baseline. These are the same versions Venuera is tested against:
- WordPress 6.0 or newer.
- WooCommerce 8.0 or newer – Venuera builds on WooCommerce for the cart, checkout, payments and orders.
- PHP 7.4 or newer (PHP 8.0+ recommended).
- The GD PHP extension, so the plugin can render QR codes and barcodes locally (ticket PDFs are produced by the bundled TCPDF library).
Venuera is fully HPOS-compatible (WooCommerce High-Performance Order Storage), so you can keep the new order tables switched on.
Install WooCommerce first
Venuera lists WooCommerce as a required plugin, so WooCommerce must be installed and active before Venuera will boot. In wp-admin → Plugins → Add New, search for WooCommerce, install and activate it, and run its short setup wizard (store address, currency). You do not need to add products – Venuera creates the ticket products for you.
Install Venuera
- Go to Plugins → Add New → Upload Plugin and choose the
venuera.zipfile (or search the plugin directory if you installed it from there). - Click Install Now, then Activate.
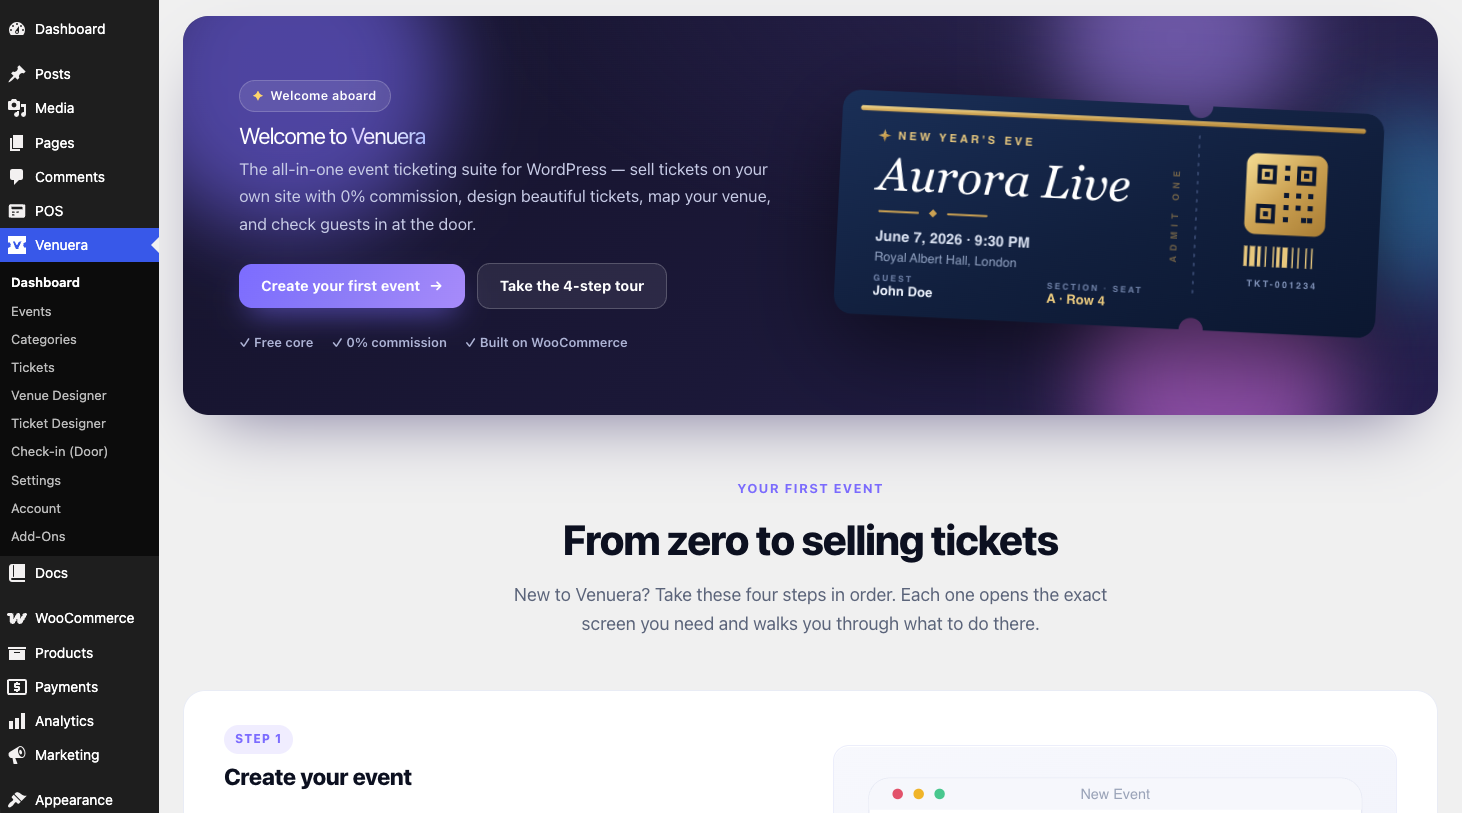
- A new Venuera menu appears in the wp-admin sidebar. That is your home base for events, tickets, settings and reports.
What you get in the free core
The core is genuinely usable on its own – it is not a trial. Out of the box you can:
- Create events and sell simple or variable ticket types through WooCommerce.
- Design tickets in the built-in Ticket Designer and deliver them as PDFs.
- Issue a unique QR code (or 1D barcode) per ticket and check people in manually with check-in rules.
- Collect a basic attendee name and export attendees to CSV/PDF.
The premium add-ons – Point of Sale, Recurring Events, Venue Designer, Custom Attendee Fields and the Check-in app – layer on top of the same core when you need them.
Next step
With the core active, you are ready to create your first event.