Create your first event
you have Venuera installed and want to publish an event with a date, a venue and the details buyers see.
In Venuera an event holds the where and when – title, date, venue and description – and one or more ticket types (WooCommerce products) sell entry to it. This article creates the event itself; selling tickets is the next article.
Add a new event
- Go to Venuera → Events → Add New.
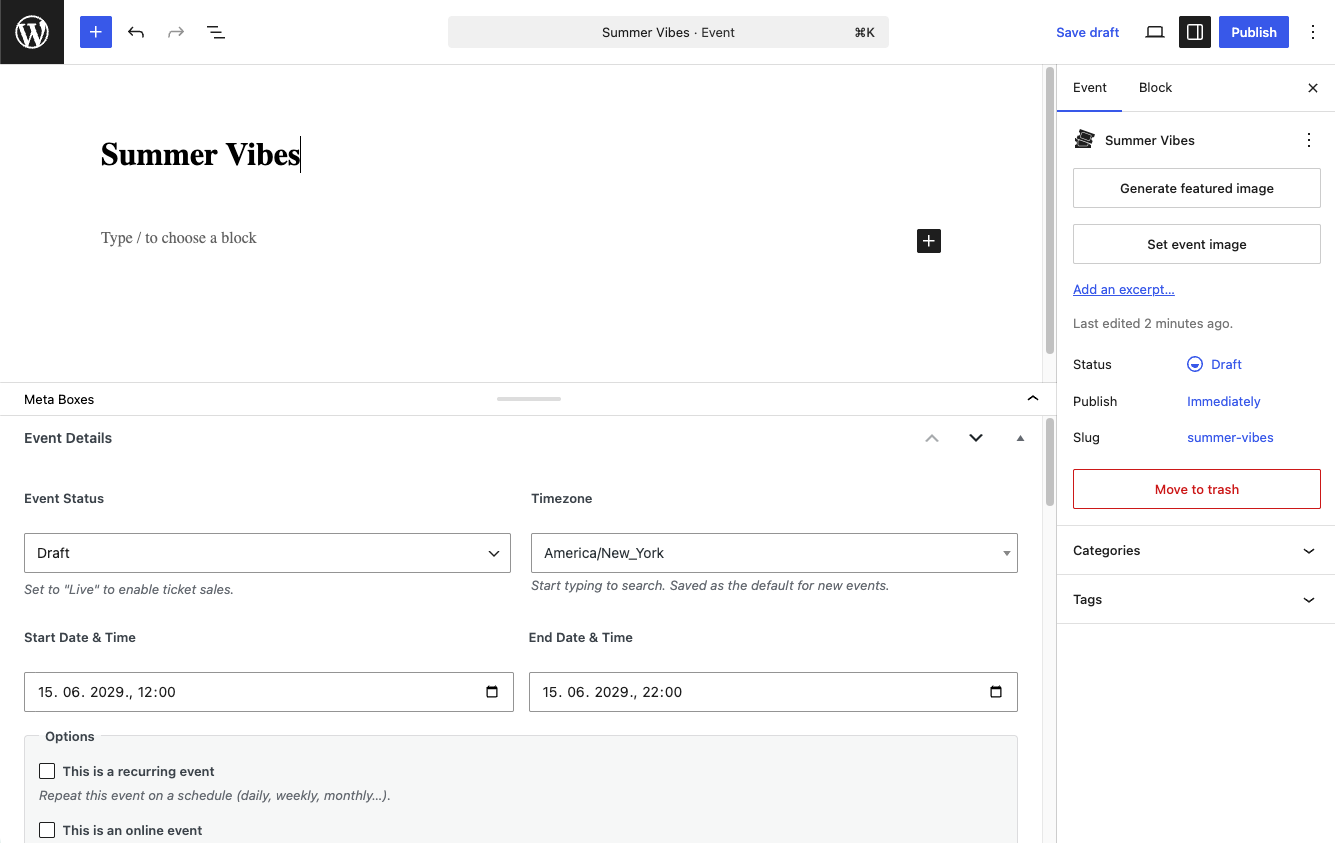
- Give the event a title (e.g. “Summer Jazz Night”) and write a description in the main editor – this is the public event page.
- Set the start date and time, and an end if it has one. The start time is what Venuera uses for time-based check-in windows later, so set it accurately.
- Fill in the venue name and address. These appear on the event page and can be printed on the ticket. Set the event timezone (check-in windows are calculated against it), and tick Online event if it has no physical venue.
Set the featured image
Add a featured image from the right-hand panel. It is used on the event page, in event listings, and as the thumbnail in the Check-in app’s event picker, so pick something recognisable.
Publish
Click Publish. Your event now has a public page at its permalink, but it has no tickets yet – visitors cannot buy anything until you attach at least one ticket type. Keep the event open (or note its title); you will link tickets to it in the next step.