Open a register
you’re selling at the door or a box office and want a fast in-person till that records sales as real WooCommerce orders.
The Point of Sale add-on is a browser-based till for selling tickets and products face to face. It runs in any modern browser, needs no special hardware, and every sale becomes a normal WooCommerce order alongside your online sales.
Open the register
- Open POS from the Venuera admin menu (or launch the installed POS app) and open a register.
- Search the catalogue and tap an item to add it to the cart, adjusting quantities as you go.
- Tender the sale when you’re done – see cash & card payments.
What you can add to the cart
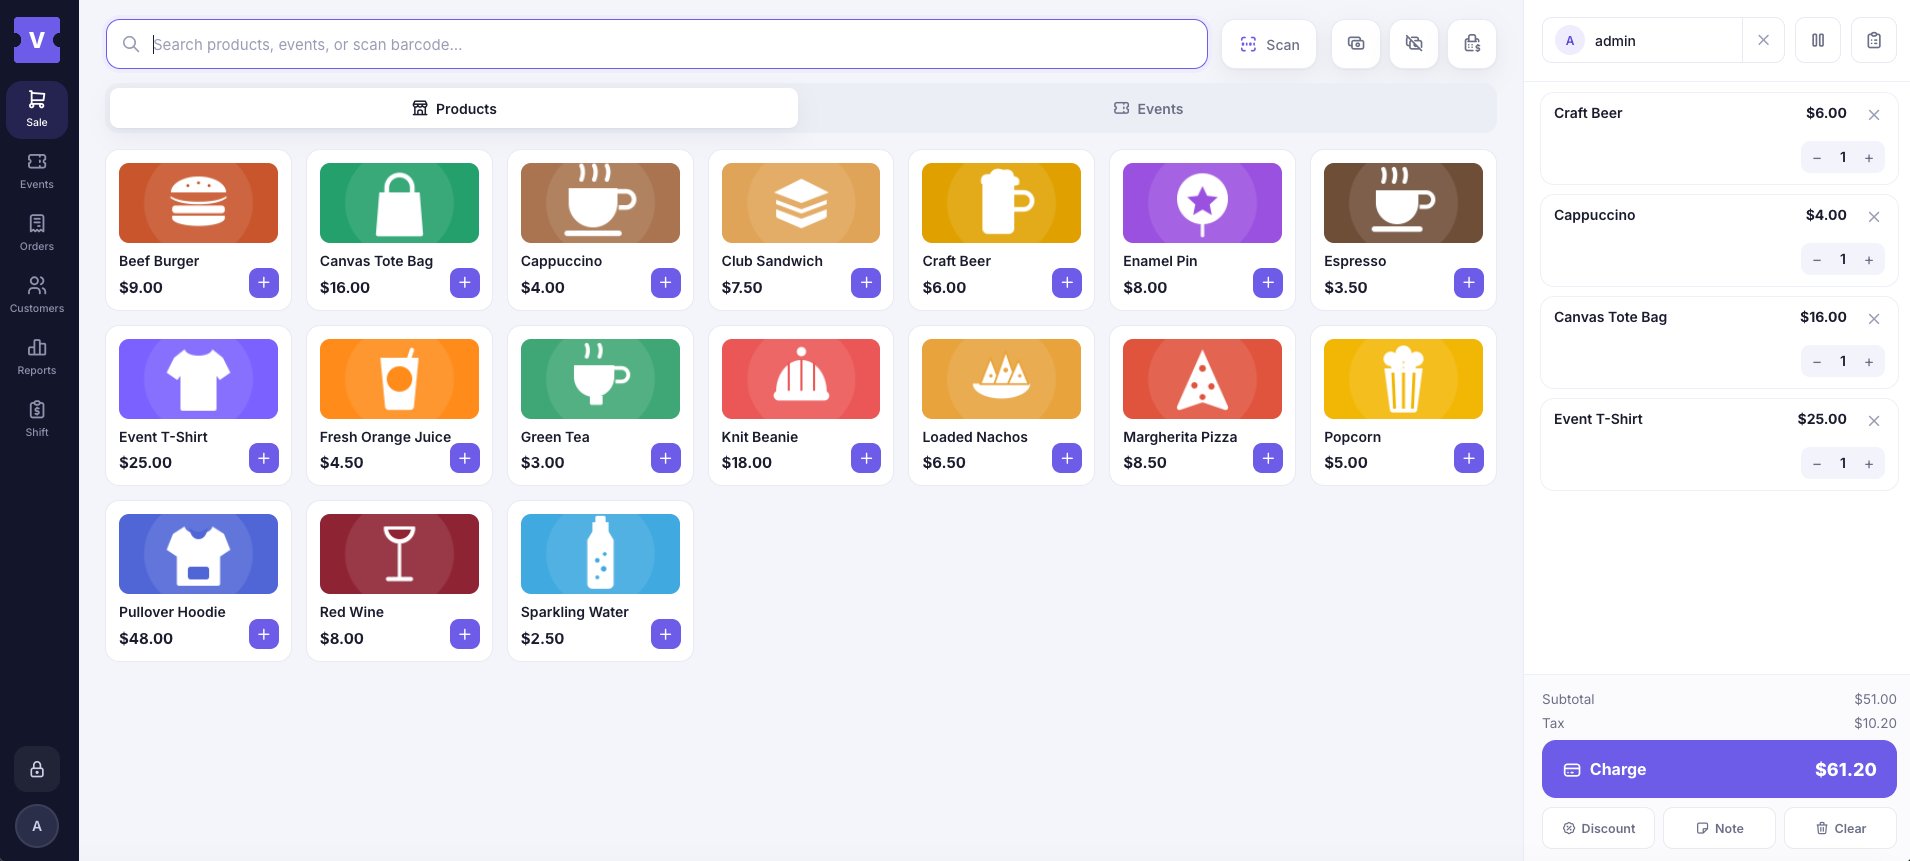
The POS sells from the same catalogue as your website. Search by name, tap to add, and the cart on the right keeps a running total. There are four kinds of item you’ll add, and the POS adapts what it asks for each one.
Ordinary products
Any regular WooCommerce product – merchandise, drinks, a programme, a cloakroom token – can be rung up at the till just like in a normal shop. Search for it (or scan its barcode), tap to add, and set the quantity. These are plain retail lines with no event, date or seat attached.
Events & ticket types
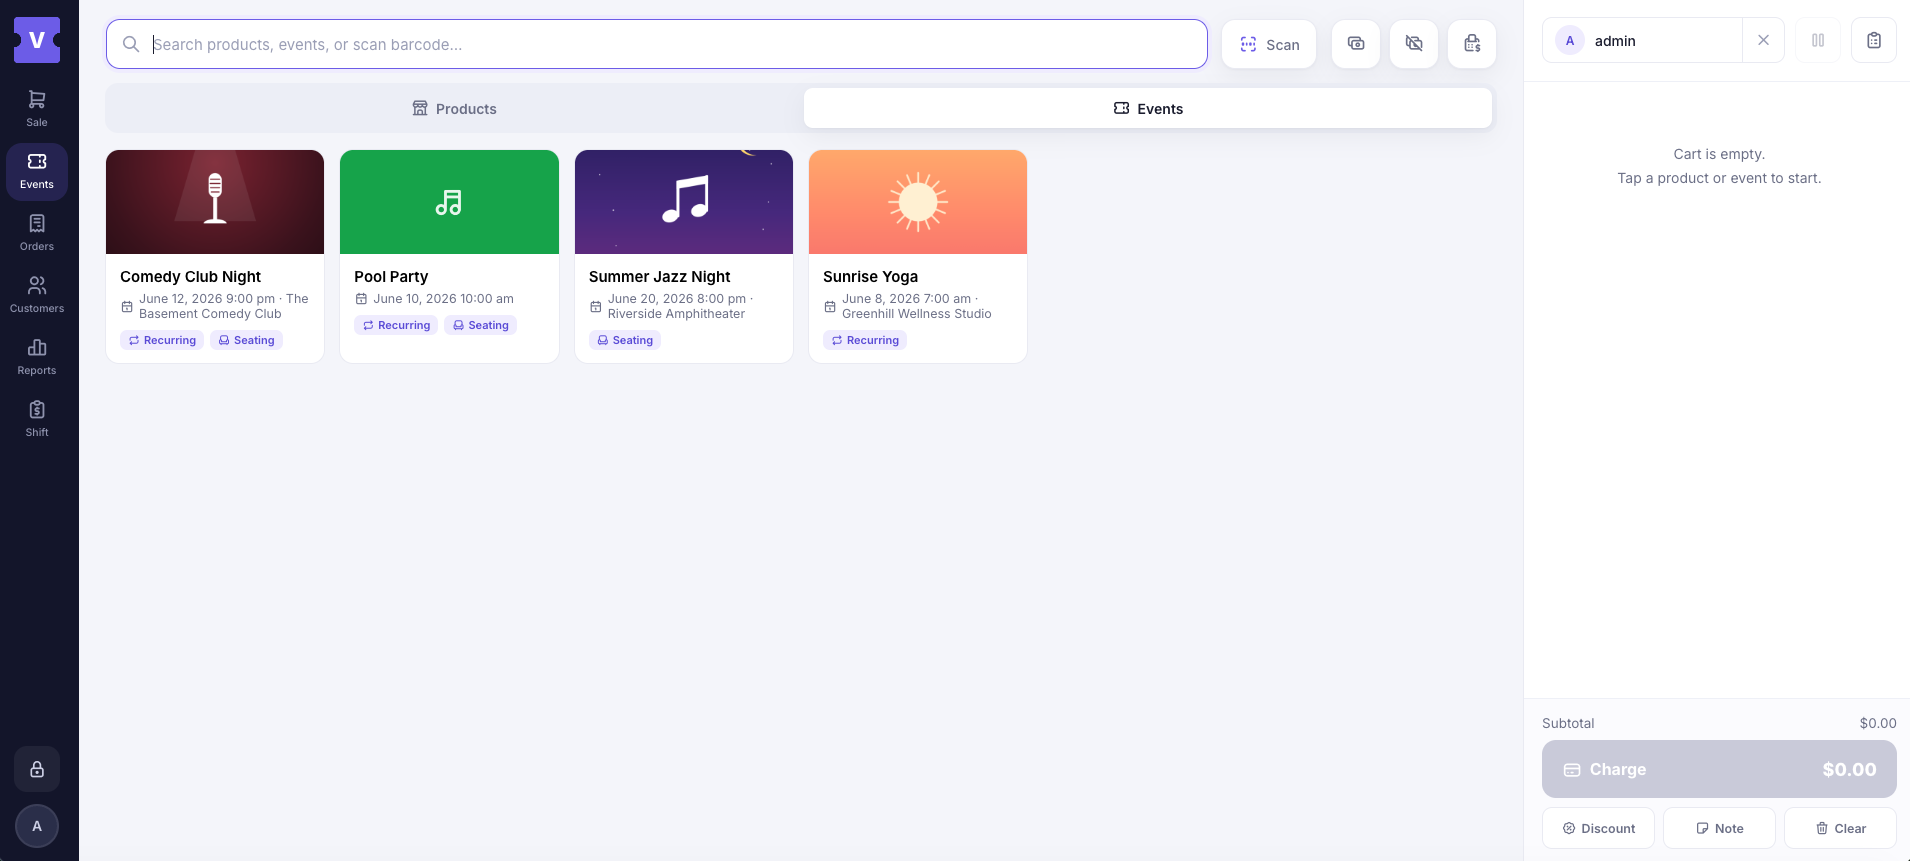
Search for an event and the POS shows its ticket types – General Admission, VIP, and so on – each with its own price and remaining capacity. Tap a type to add it; for a variable ticket you pick the tier first. The ticket issued at the door is identical to one bought online: same QR code, same check-in rules.
Recurring events – pick a date
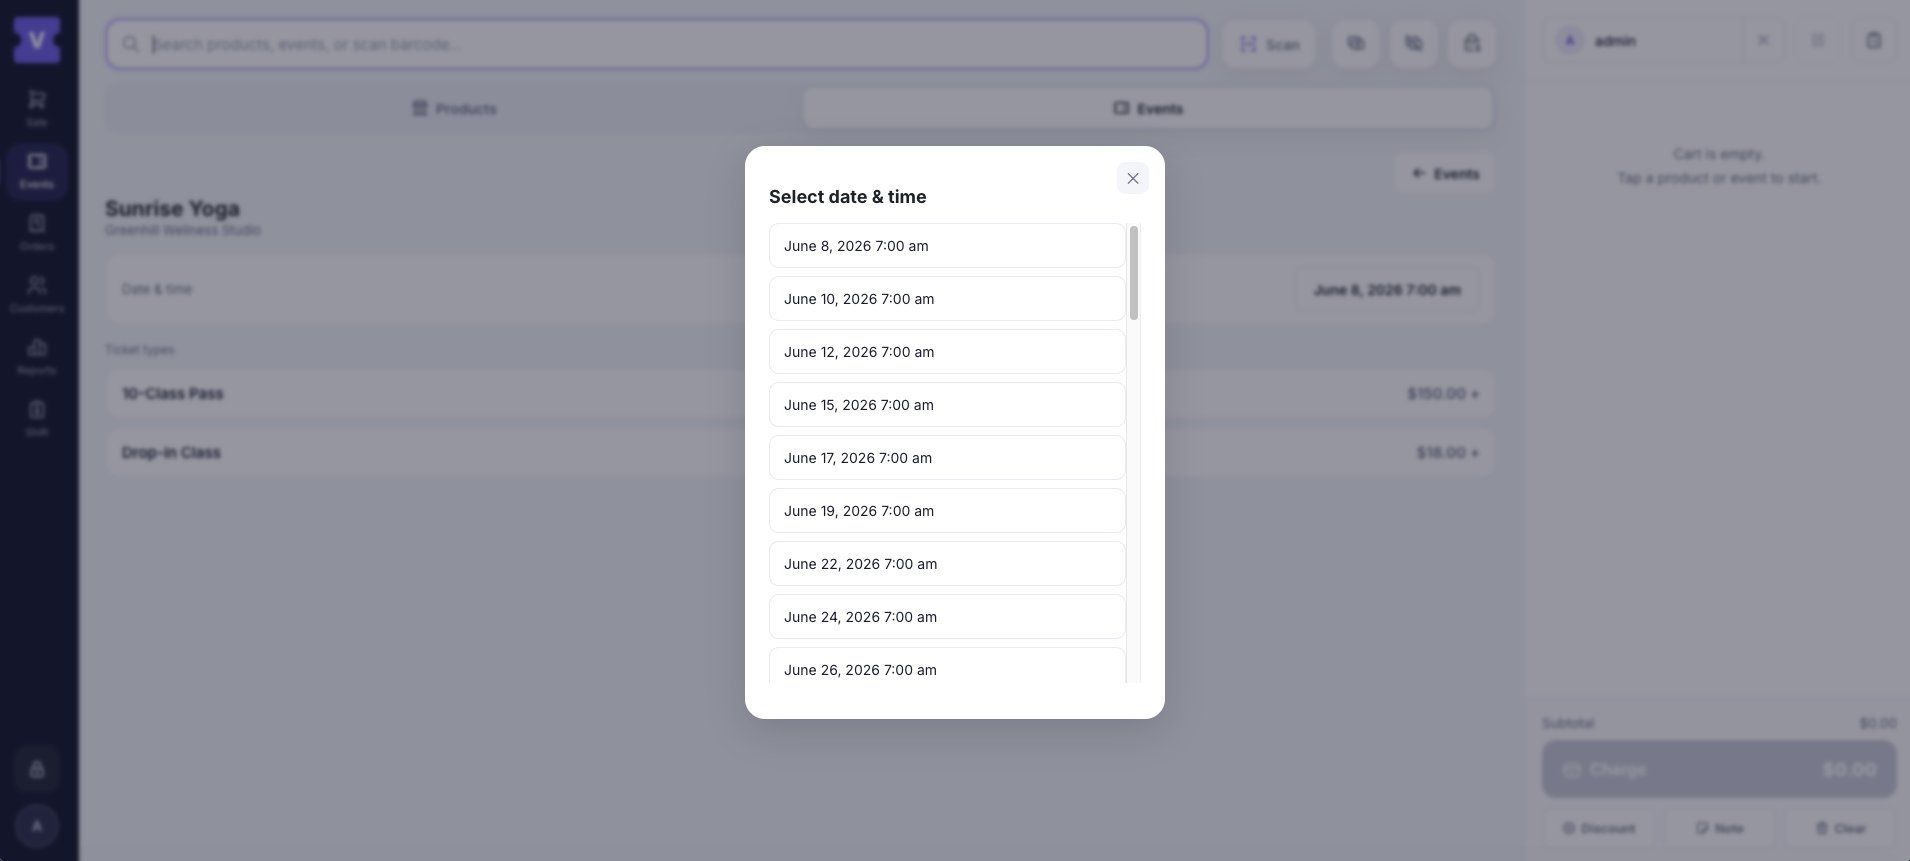
When the event is a recurring one, the POS asks which date the buyer is attending before it adds the ticket – a Select date & time step that lists the available occurrences. The chosen date travels with the ticket, so it counts against that date’s capacity and only checks in on that date.
Seated events – pick a seat
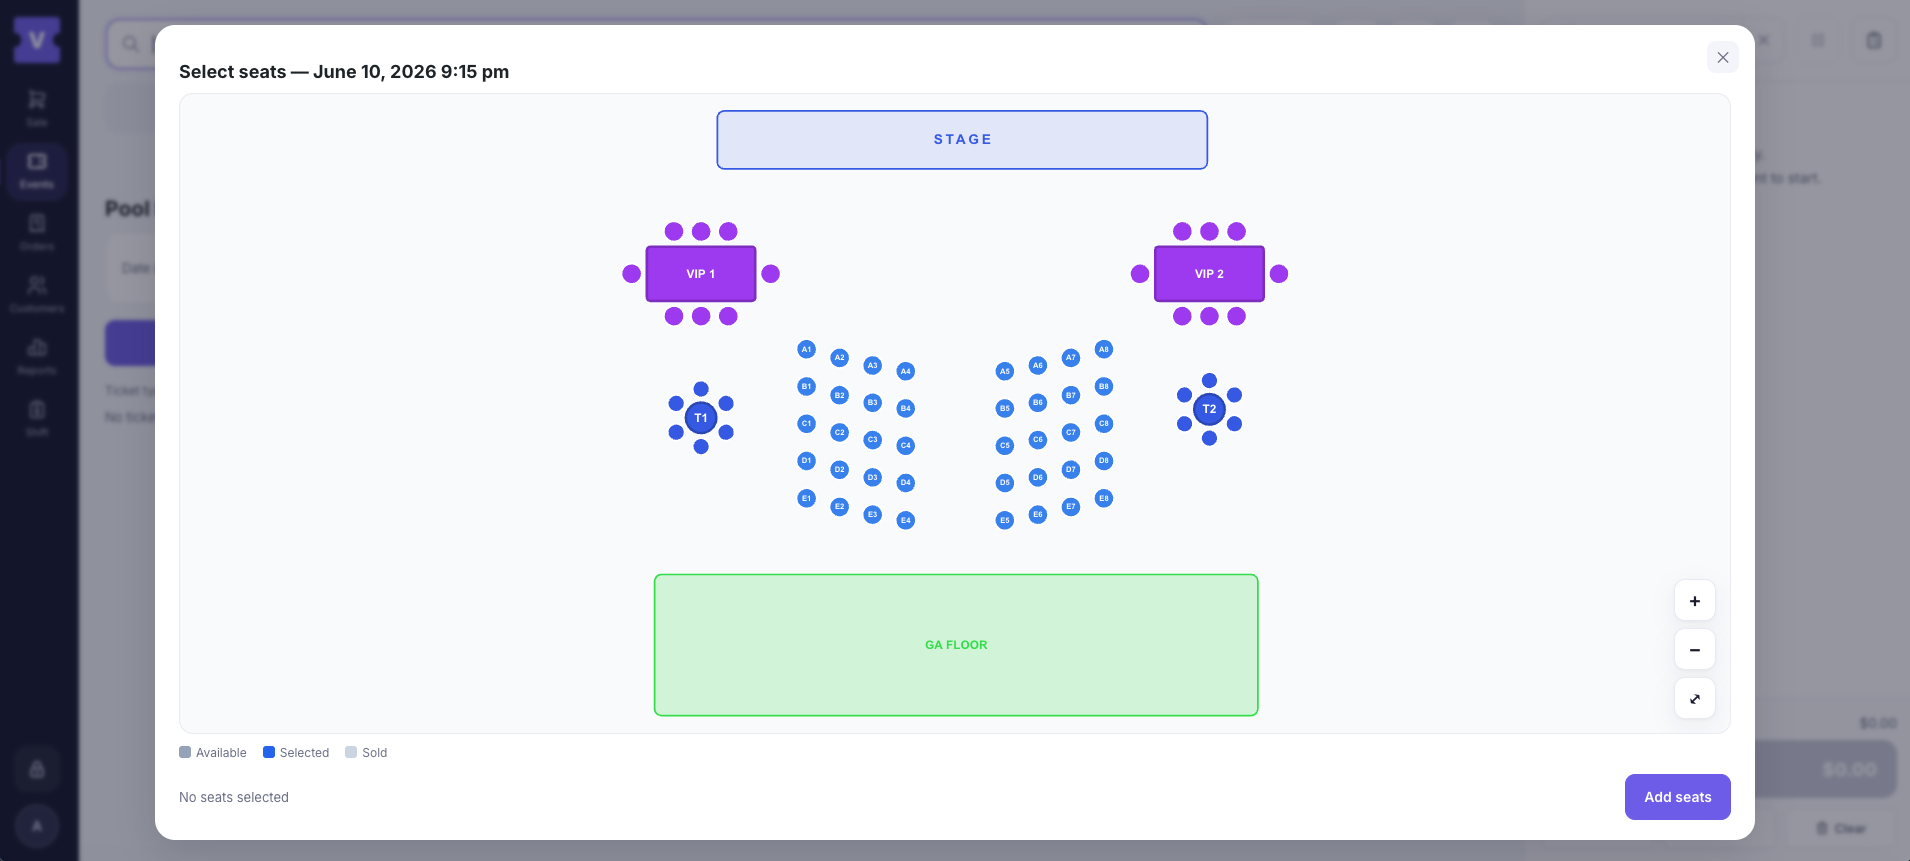
For a seated event you choose the seat right in the POS, from the same seat map buyers use online. Tap an available seat (or a spot in a standing area) to add it to the cart with its section, row and seat label. The map shows seats already sold when you open it; if another sale takes the same seat first, the POS blocks your sale at checkout, so a seat is never sold twice.
It’s the same catalogue
Because the POS sells the very same events and ticket types you sell online, capacity, prices and check-in rules are shared. A ticket sold at the door is identical to one sold on the web – same QR, same rules, same reporting – and every door sale lands in the same set of WooCommerce orders.
Built for the door
The POS is designed to keep a line moving: large tap targets and fast search. If the venue Wi-Fi drops it keeps ringing up retail products, queuing those sales to sync once you’re back online (selling event tickets needs a connection). You can install it as an app on a phone or tablet for a full-screen till.
Next step
Take payment: cash & card.